I see thousands of golf swings a year—from tour pros to high-handicap amateurs—and the single biggest factor determining how quickly a player improves through remote coaching isn't talent or athleticism. It's the quality of the video they send me. Garbage in, garbage out. If you send me a shaky, poorly framed video from a weird angle, I can give you a guess. If you send me a clear, stable video from the correct angles, I can give you a blueprint for improvement. Your smartphone is one of the most powerful game-improvement tools ever created, but only if you know how to use it correctly. This is how we do it at Beyond Golf Performance, and it's the standard I require for every player in our Virtual Academy.
The Only Gear You Truly Need
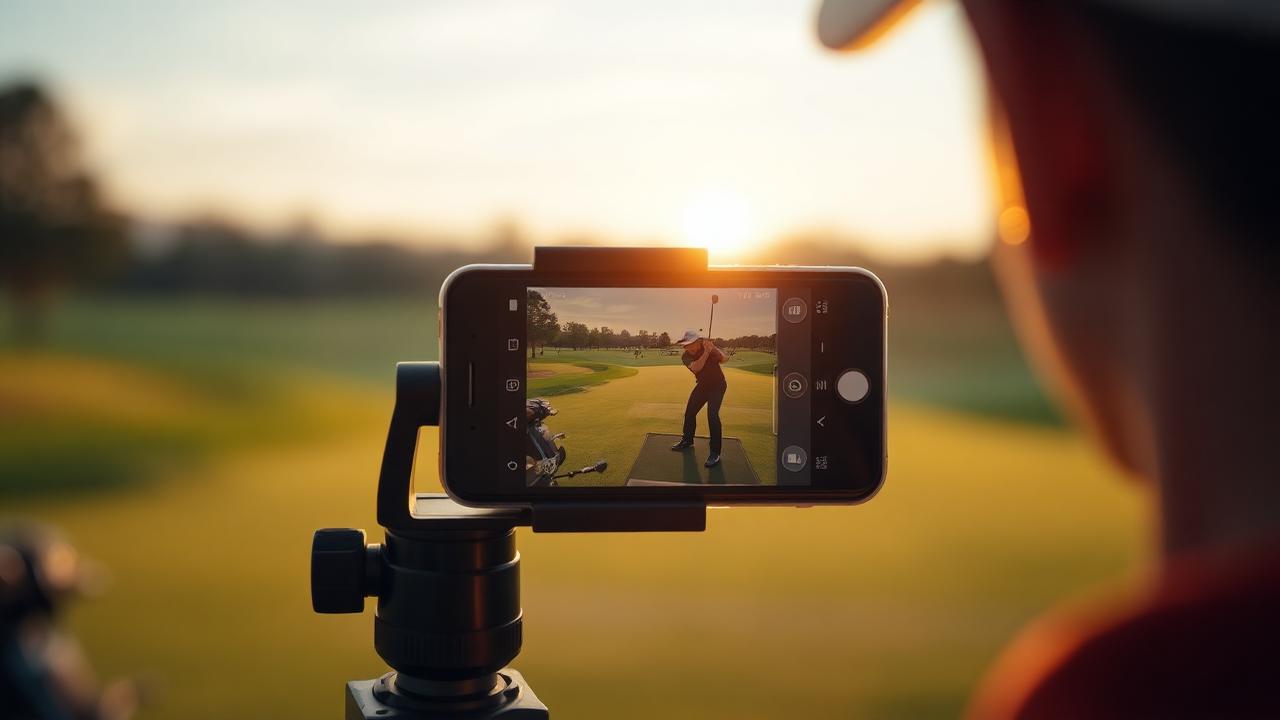
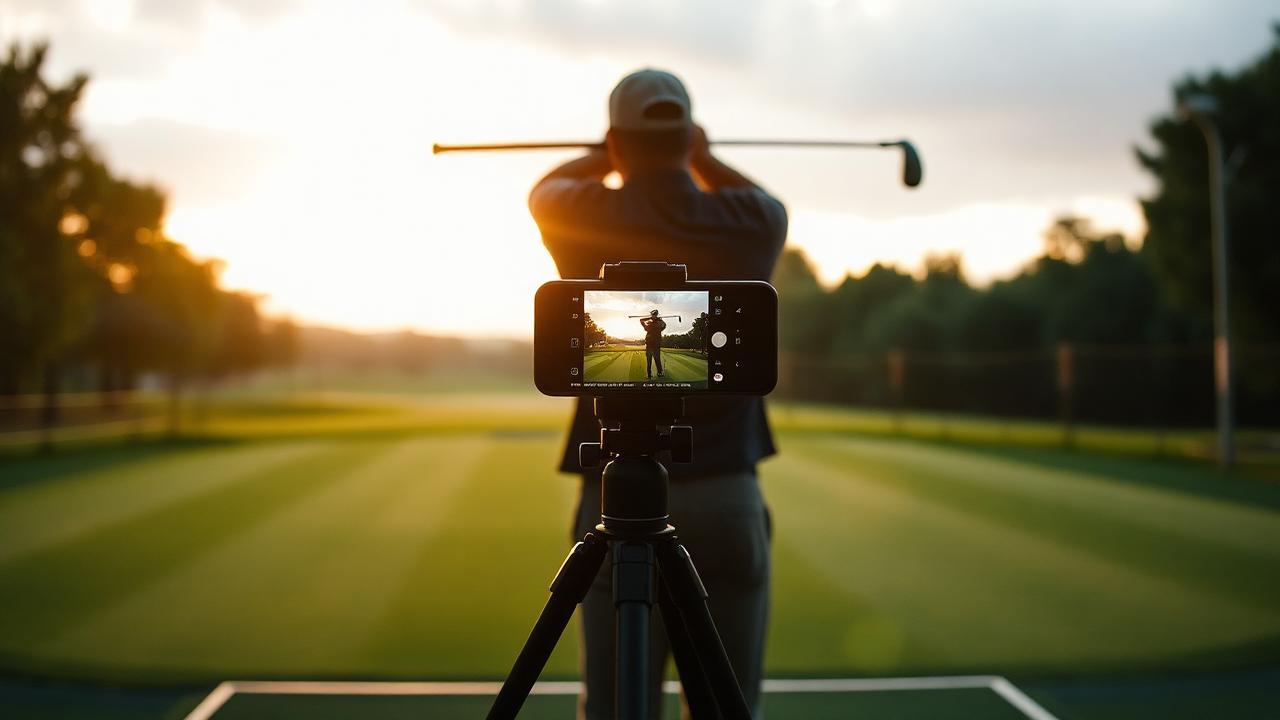
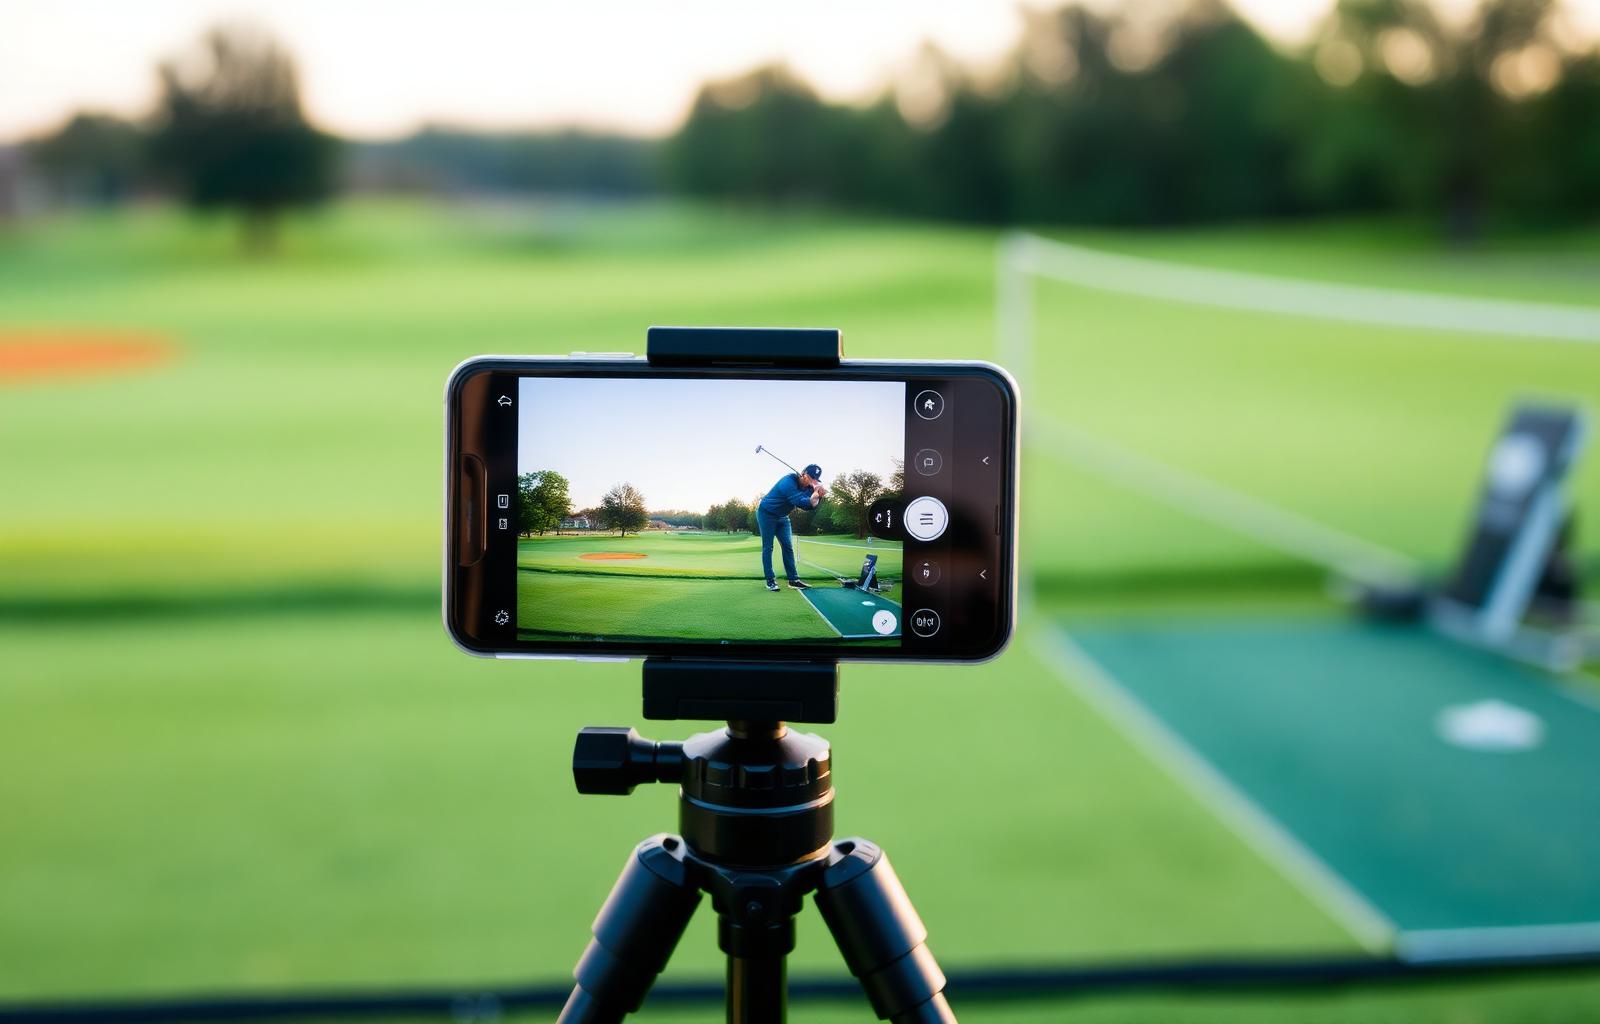
Let’s dispel a myth right now: you do not need expensive camera equipment to film your golf swing effectively. The phone in your pocket likely shoots in high-definition slow-motion, which is more than enough for a detailed swing analysis. The only piece of equipment I strongly recommend is a simple, inexpensive tripod with a phone mount.
Trying to balance your phone on a golf bag or a water bottle is a recipe for disaster. It will fall, the angle will be wrong, and the shot will be unstable. For less than thirty dollars, a tripod provides the stability and adjustability needed for a professional-grade remote swing analysis setup. It’s the single best investment you can make in your remote coaching journey. An alignment stick is the other piece of "gear" that is non-negotiable, but every serious golfer should have one in their bag already.
The Two Angles That Tell the Whole Story
For a comprehensive analysis of your technique—the third pillar of our performance philosophy alongside Mind and Body—I need to see two specific views. Anything else is just noise. Do not send me a 45-degree angle or a view from above. They are useless for a technical diagnosis.
Down-the-Line (DTL) View
This is the most critical angle for analyzing your swing plane, club path, and posture. It's also the one most golfers get wrong.
* Camera Placement: The camera must be positioned directly behind the line of your hands at address. Not behind your body, not outside the ball. Imagine a laser shooting straight back from your hands—that's where the camera lens should be.
* Camera Height: Set the tripod so the camera is between belt and chest height. If it's too low (on the ground), it distorts the swing plane, making a good swing look too steep. If it's too high, it makes the swing look too flat. Hand-height is the gold standard.
* What I'm Looking For: From this angle, I can see your takeaway path, your position at the top, how you shallow the club in transition, your club path through impact, and your body lines from address to finish. It’s the architectural drawing of your golf swing.
Face-On (FO) View
This angle reveals the "engine" of your swing—how you generate and transfer power.
* Camera Placement: The camera should be positioned directly in front of you, perpendicular to your target line. Imagine a line running from the ball straight to the camera. It should be centered on your body (your sternum or belt buckle).
* Camera Height: Set the tripod to belly-button or sternum height. Again, placing it on the ground creates a distorted "hero" angle that hides weight shift flaws. Placing it too high obscures your lower body action.
* What I'm Looking For: The Face-On view shows me your ball position, stance width, weight distribution at address, lateral sway or slide, sequence of motion, dynamic loft at impact, and how your body rotates through the shot. This is where I diagnose issues related to power, contact, and trajectory control.
Setting the Shot: The Non-Negotiables
Getting the angles right is half the battle. Executing the setup is the other half. Follow these rules every time you film your golf swing.
Use an Alignment Stick
For the Down-the-Line view, placing an alignment stick on the ground parallel to your target line (usually aimed just inside the ball) is mandatory. It provides an objective reference for your alignment and swing path. Without it, I’m left guessing where you’re aimed, which makes it impossible to accurately diagnose a path or face-to-path problem.
Frame the Entire Swing
When you set up your shot, take a few practice swings and check the viewfinder. I need to see your entire body—head, hands, and feet—as well as the full arc of the club, especially at the top of the backswing. If your clubhead goes out of frame at the top, I can't see if you're laid off or across the line. Ensure there's enough room on all sides of the frame so nothing gets cut off.
Use Slow-Motion
Your phone’s slow-motion video setting is your best friend. Standard video (30 frames per second) moves too fast to see the critical details, especially around impact. Use the highest frame rate available, typically 120 or 240 fps. This allows me and my team to scroll frame-by-frame through your swing and pinpoint the exact moment of a technical breakdown. It’s the difference between a guess and a diagnosis.
Lighting is Key
Your camera needs light to capture a clear image. Face the sun or the primary light source. If the sun is behind you, you will be a dark silhouette, and all the crucial details of your motion will be lost. The ideal scenario is a bright, overcast day, but on a sunny day, just make sure the sun is in front of you.
What to Film for an Effective Analysis
Don't just send one swing, and please don't just send the one you flushed. Improvement comes from understanding and correcting your patterns, and that includes your misses.
For each of the two angles (DTL and FO), hit five balls with the same club (a 7-iron is a perfect starting point). Let the camera roll. This shows me your pre-shot routine, your rhythm, and your consistency. Critically, it will also likely capture one or two of your typical misses. Seeing the cause and effect of a bad shot is often more valuable for me as a coach than seeing a perfect one. Tell me what your common miss is—a hook, a slice, a thin shot—so I can look for the technical root cause.
---
Stop guessing what you’re doing wrong based on blurry, poorly-angled videos. The path to getting 1% better every day requires accurate information and expert guidance. Now that you know how to film your golf swing like a pro, the next step is to get a professional analysis. If you're ready to commit to real, measurable improvement, I invite you to join our Virtual Academy. You can upload your swings directly to our platform, where my team of coaches—Austin Lim, Steven Zavala, Sam Schmidt—and I will provide the specific, actionable feedback you need. For those in or visiting Central Texas, book an in-person assessment with us at Balcones Country Club in Austin, and we’ll run you through our entire process, combining this video analysis with launch monitor data and a TPI screening. The time for guesswork is over. Let's get to work. Contact Beyond Golf Performance at (737) 537-2117 to get started.